I MADE A NAS
It is my baby. My child. I’ll be going through my machine and setup configurations and considerations in this post below. But first, a heroic send off to my old setup.
An ode to the Raspberry Pi 4
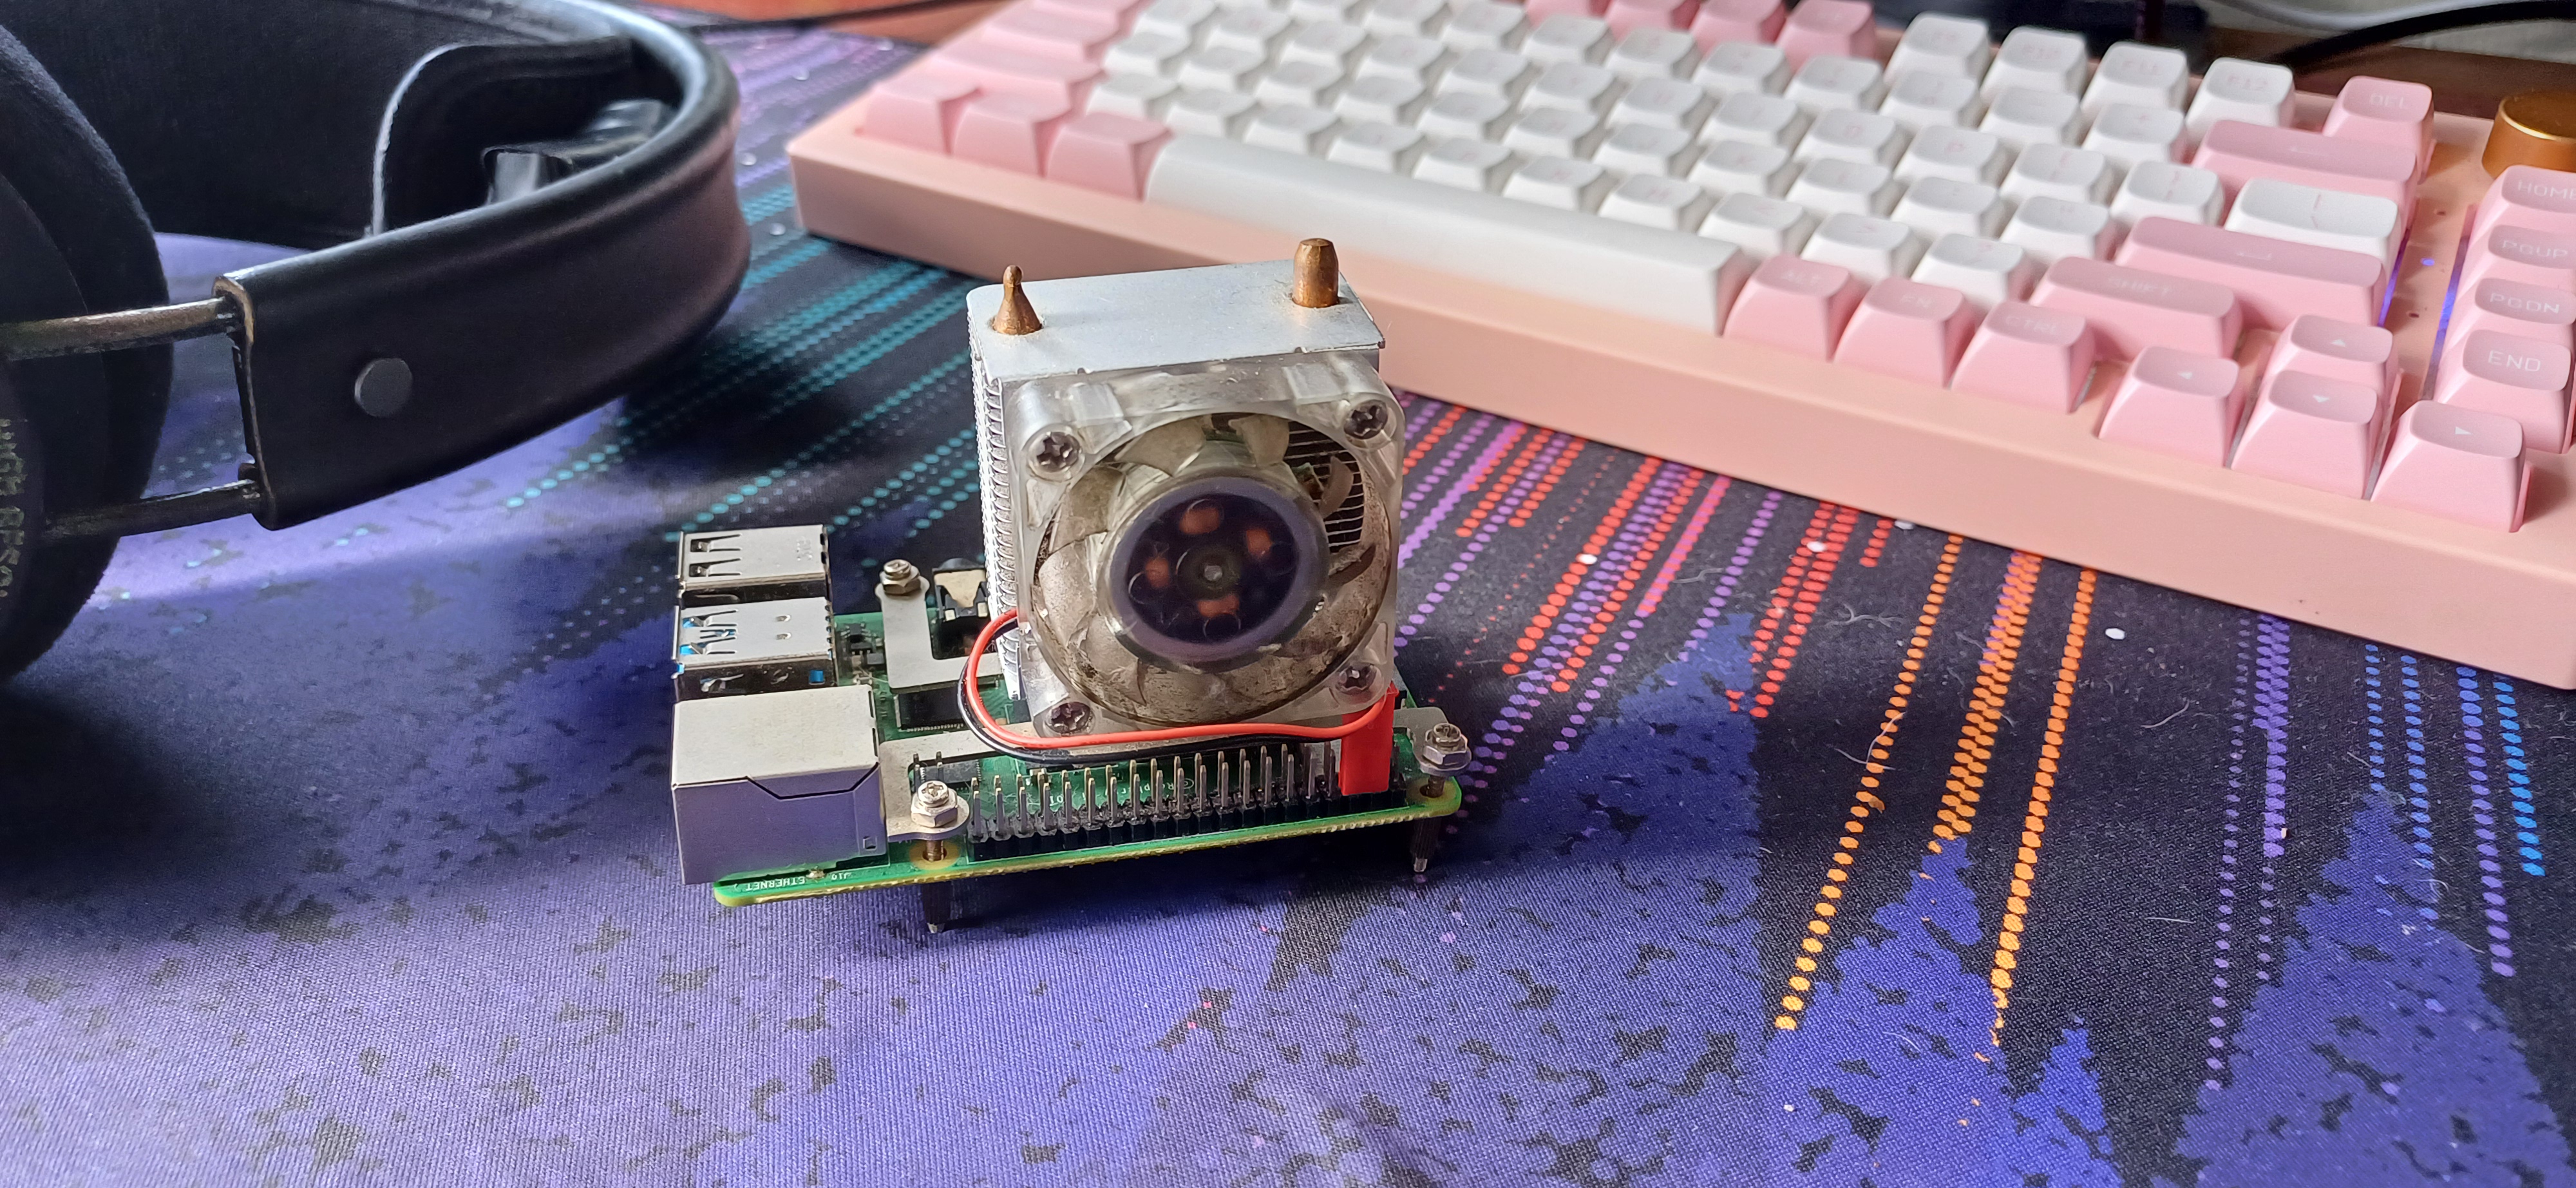
This little beast has been my home server for about 3 years. It’s a Raspberry Pi 4 with 4 Gigs of RAM, connected to a spare external hard drive that my dad had lying around. It has a cooler about twice its size sitting on top of it, an ICE cooler. I overclocked its processor by a good amount. It had a plex server running on it, octoprint for my brother’s Ender v2 3D printer, and some small scripts (One of the scripts was a form.sg autocompleter - I used it for some mandatory quizzes in the Army). This beautiful thing - look at its RGB fans, its green PCB, its silver GPIO pins - was a workhorse. It didn’t know when to stop. Until it couldn’t stop stopping. The external hard drive it was connected to was getting a little iffy. The read/write speeds were getting kinda whack, and I had to inexplicably restart my pi sometimes for the drive to be visible. On top of that, my plex streams were starting to buffer/lag more. It was time to upgrade.

What started as a what-if pet project became something integral to my media-consuming habits. It changed me! Specifically for music. I used to use Spotify, but I wanted more - it’s no secret that Spotify doesn’t pay their artists well, and it’s been about 3 years since Spotify announced HiFi quality streams. It hasn’t come yet. So, I started using bandcamp to buy music that I want, and then upload it to my server. I started relying on algorithms less to discover music. I followed curators. I regularly read this heavy music blog that I love - machinemusic.net. I became a patron, even. All of this heavily influenced my music taste, and resultantly, me as a person. I’ve found local artists that I love. I’ve met some of them in-person at their gigs! It was awesome meeting and talking to the sole member of one of the band behind one of my favourite albums of 2023. All of this was because of me moving away from Spotify - it was one big domino effect. I’ve found that this transition has increased my enjoyment of music. It feels really good to support artists directly (paying for their albums, buying merch), rather than streaming. So I really cherish this little pi.
Choosing a NAS
So, upgrade time. I had a rough list of what I wanted
- 4 bay
- A processor capable of transcoding 4k streams
- HDMI port for output if within budget
- About 200 dollars.
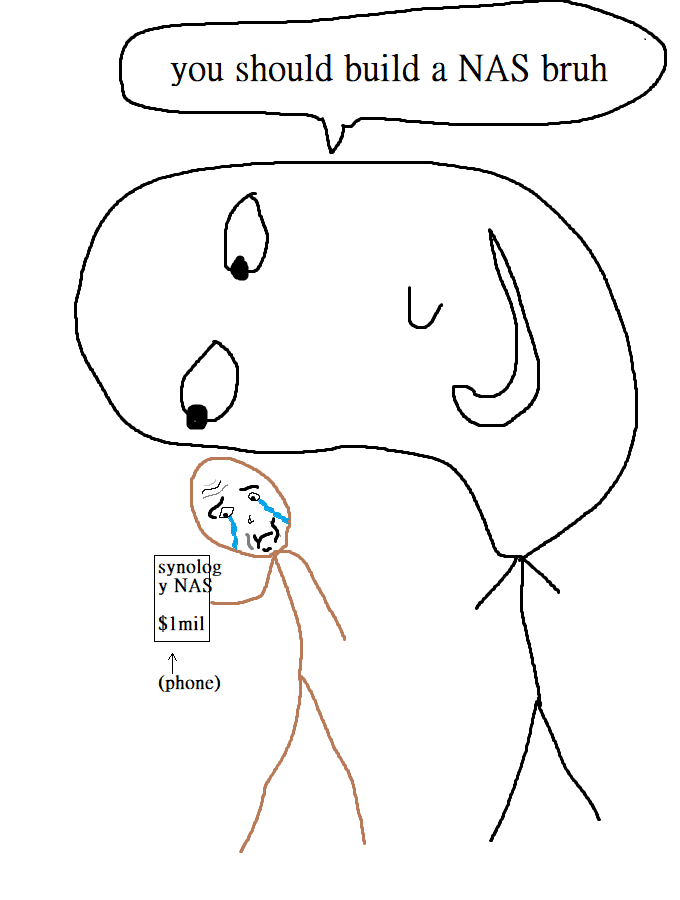
Oh, you sweet naive summer child. The first thing that dawned on me as I started searching was that NAS devices are expensive. Really, really, expensive. Here are some of the prices of NAS devices from PCMag’s picks for 2024.
| Item | # of Bays | $USD amazon |
|---|---|---|
| QNAP TS-233 | 2 | $199 |
| Asustor Lockerstor 2 Gen2 (AS6702T) | 2 | $459 |
| Synology DiskStation DS224+ | 2 | $295.99 |
| QNAP TS-464 | 4 | $589 |
| Synology DiskStation DS923+ | 4 | $593 |
| Synology DiskStation DS1522+ | 4 | $699 |
| TerraMaster F5-422 | 5 | $599 |
| Asustor Drivestor 2 Pro (AS3302T) | 2 | $249 |
Ohhh no. Hell no. No no no no no. The cheapest 4 bay was $589 USD?!??!. Was I that unrealistic? It comes with a N series celeron processor released in 2021. Was I that unrealistic? Even if I went for the cheapest NAS here it’d be $249. USD. So for a while, I had my mind set on the Asustor Drivestor 2 Pro. The Asustor didn’t even come with a celeron processor - it was an ARM chip. A realtek Quad Core 1.4GHz CPU. The Asustor site did advertise 4k transcoding but I wondered how well it’d fare, especially when I loaded a bunch of other apps on it. I was kind of disappointed, but I had to lower my apparently wild expectations.
I was discussing with a techie friend about this, and he wondered out loud about the feasability of building your own. Online in some message board I saw some of the fanless machines that people were using as routers, and in that same vein, I knew that some Mini-PCs were geared towards NAS applications. I was even scrolling a list of NAS devices to buy one day, and a guy that I didn’t know was in the queue behind me. He must’ve peeped at my phone, or my brightness must’ve been too high, because this guy said: “Buying a NAS? Why don’t you build your own”. At the time, I didn’t really process this. I was mostly wondering why a guy I don’t know peeped at my phone and was telling me this. All of these were signs. I was being given signs. Don’t you see the signs? For a long time I didn’t see the signs. A sudden reveleation. A lightbulb moment. An Archimidean eureka. I should build my own NAS! This was a conclusion that I reached on my own.
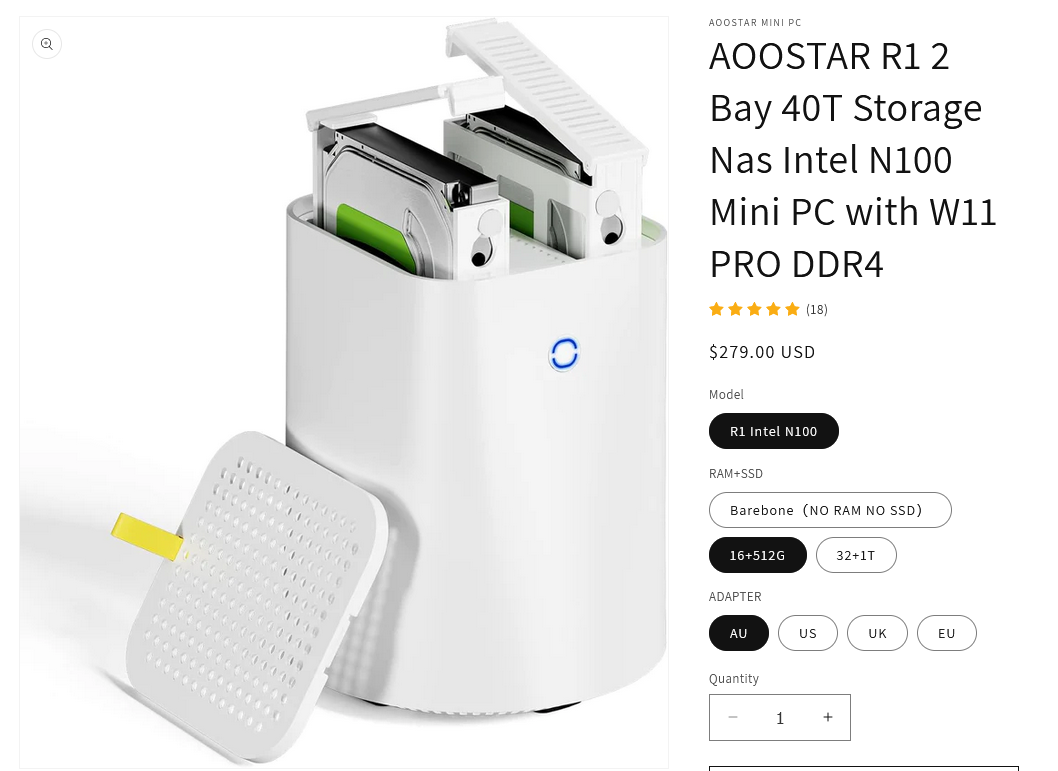
I decided to go the route of buying a Mini PC as a NAS. I was down for some tinkering so I figure it would be alright. My friend which I mentioned earlier very quickly found this. Wow!! The specs were so much better than the NAS devices shown earlier - An intel N100?! For 279USD. Compared to the Asustor, it was a no-brainer. I’d get much better performance for a marginal price increase. A little bit more digging and we were able to find the OEM for the device on Aliexpress. They were letting it go for a slightly cheaper price.
The Aoostar R1 was what I bought in the end. I perhaps bought it in the worst timing possible, Chinese New Year. I wouldn’t see the mini-PC for a while. To go with the NAS, I bought a single 12TB seagate ironwolf. I would’ve bought 2, but this upgrade was already costing much more than I initially thought, so the plan was to buy 1 for now and another in the future for RAID 1.
Choosing an OS
Seeing that I was building it from scratch, I’d need to choose an operating system for the NAS. Heard many good things about Unraid, so I checked it out - nevermind it costs money. I found TrueNAS. It had many pros to me - ZFS, big ecosystem of plugins. TrueNAS also serves enterprise-level customers, which to me gives confidence in the product. I liked the Web UI as well, from what I’ve seen. It ticked all my boxes, so I didn’t really bother to research some more. I chose TrueNAS Scale.
Installing
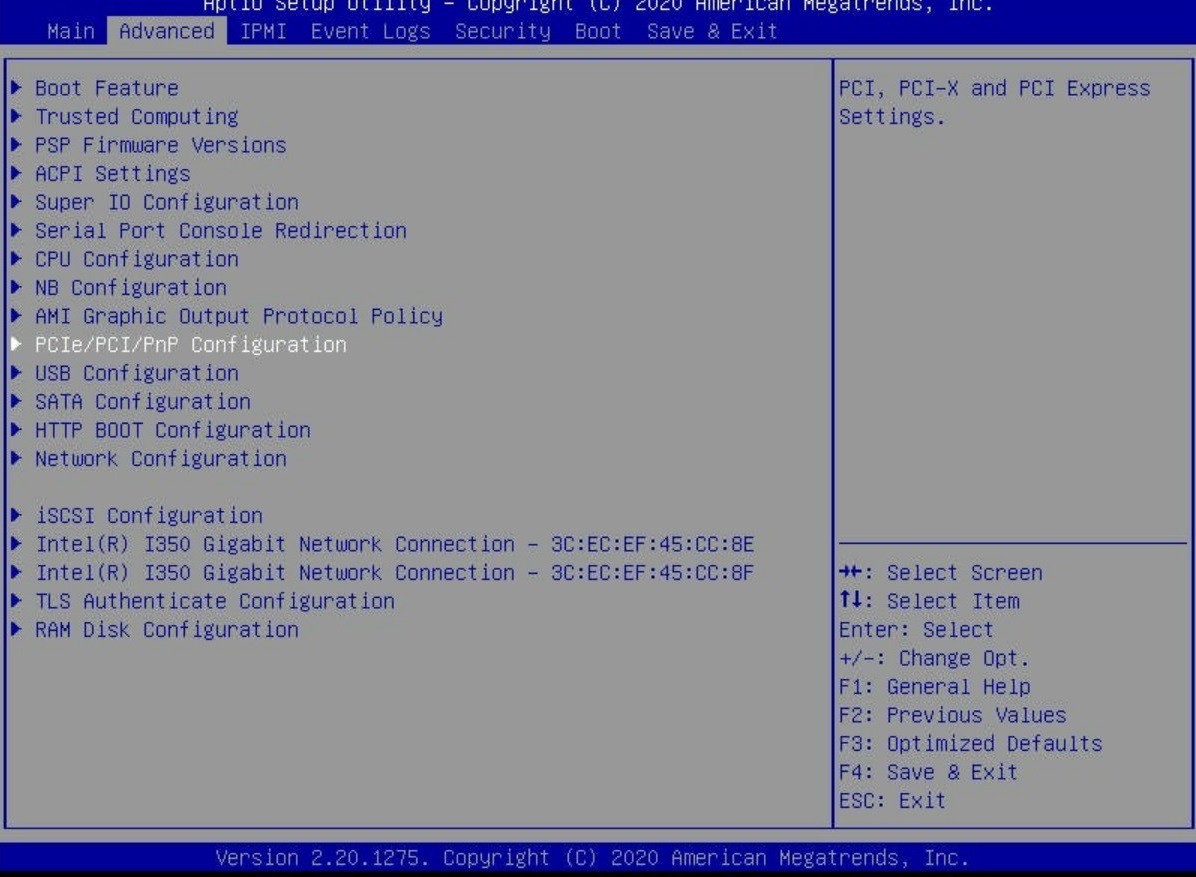
So, one fine day I received it. It came with some chinese RAM and SSD with manufacturers I’ve never heard of before. Adding the hard drive in was dead simple - I just slid it in. I didn’t even know that it came with an OS, so I was surprised when it booted into Windows 11. And not just any Windows 11, Windows 11 Pro! With a seemingly working key no less. Shame that I’d be removing it. Getting into the BIOS was a little annoying - there was no prompt for it on startup. So I’d had to go the Windows startup options way. Unsurprisingly the device didn’t have a UEFI BIOS, and had that sexy blue-on-gray legacy bios. I installed TrueNAS Scale on it without any major issues. Just like that, I had a NAS!
Setting everything up
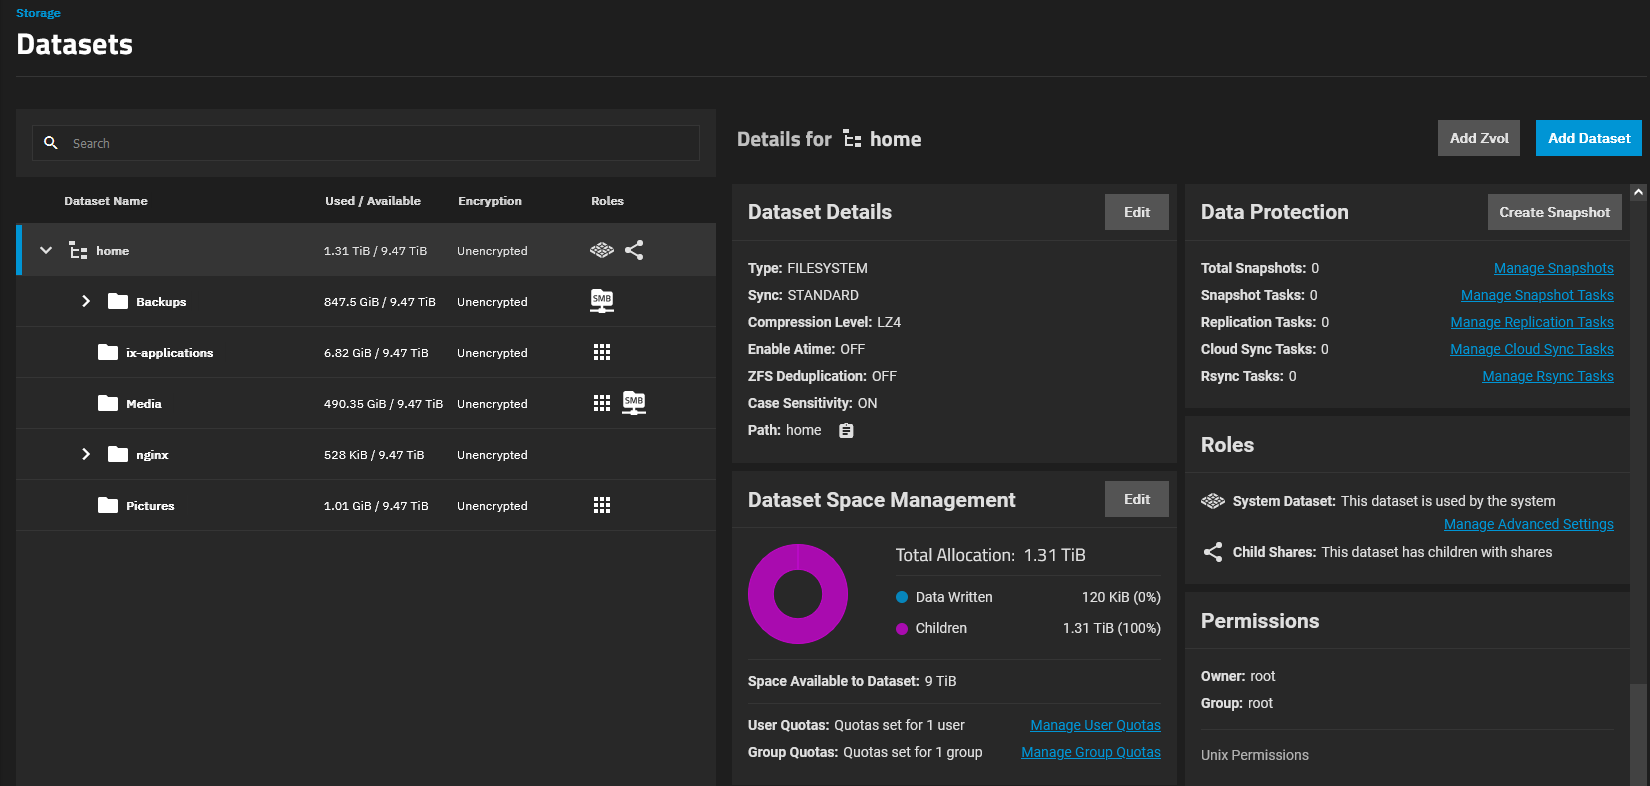
Getting used to TrueNAS Scale had a bit of a learning curve to it. I had to learn some of the ZFS concepts (zpools, vdevs, etc.) (imma be real i still don’t understand some concepts. what is deduplication bruh. copy on write i somewhat understand. snapshots?). The permissioning was daunting at first, but I was able to understand it and I felt like a bona fide greybeard sysadmin once I did. I created a dataset for media, installed Plex and some other services and configured shares for the media folder. Not going to go too much in depth here, but after understanding some of the more seemingly esoteric parts it was actually really easy.
I then created a separate dataset for Backups and configured shares. The backup dataset had child datasets for each member in my family, with each allocated 1TB of space. Each person could only view and write to their own backup folder. I looked for backup software online, but I realized that I didn’t really need it. I used Windows’ in-built file history feature for daily backups to the NAS. For now, it’s working fine.
Getting domain names for my local services
At this point, I was having 4 separate services with web UIs running on my server. I wanted an easy way for my family members to access these services too, and ipaddress:portnumber wasn’t going to cut it. I wanted local domain names for my services. I could edit the hosts file, but it was annoying and wouldn’t work on phones. I originally thought of running a DNS server on the NAS, but some searching made me stumble on asuswrt-merlin. This was a custom firmware for asus routers - a fork of their firmware with some added upgrades. Why I mention this is that this custom firmware allows one to run a dns server using dnsmasq on the router itself! This approach made more sense to me - separation of concerns and what not. So, much to my family’s dismay, I installed custom firmware on the router. I followed some instructions online to get dnsmasq working on the router. It was surprisingly simple. The process required me to SSH into my router. As I was SSH’ing into my router, I thought that if life had achievements like steam games, I’d probably be getting one right now.

So, I got it to work. I had a local domain (.local) that pointed to my server. It wasn’t quite what I wanted, though. Because I couldn’t specify ports in domain name records, it was only pointing to the web ui that was occupying the port 80. I had other sites on different ports. I needed a reverse proxy that would take the request and redirect it to the right port. Luckily, TrueNAS Scale has a plugin for nginx reverse proxies right in their catalogue. Nice.
Reverse proxy

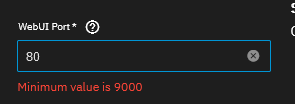
Oh boy. I installed the nginx proxy manager app and went about setting it up. I was able to add hosts pretty easily, but I quickly realised that for the proxy to work, the DNS record needs to point to NGINX’s port. You can’t specify ports in DNS records, so I had to make nginx occupy the port 80 on the server. I could re-allocate the Web UI port for truenas scale, which was then occupying port 80. Then, when I was re-installing the nginx, I attempted to specify port 80 - it disallowed it. That seems like a rather arbitrary thing to impose. I couldn’t use port 80? Well what do I do then? A vein was bulging on my forehead.
Ok, next try. I found out that I could specify a separate IP address for the nginx service, allowing that to occupy the port 80. Seemed like a kinda hacky workaround but whatever. I added another static IP address to my network interface, and assigned it to the nginx app which I re-installed. The app takes about 5+ minutes to install, for some reason it takes some time on a permission allocation step. I visit the web page, but the server does not respond. I view my router’s admin page to see if the IP address is there. I reset the network interface and re-create the second static IP. I attempt to visit the logs of the container - it does not work. I get a 500 error message. What the hell is going on. There is a dull gnawing feeling in my head.
Damn. After some thrashing about I find out that the reason it isn’t working is because I didn’t mount some required volumes for the container. Rookie mistake. I add what’s required, and visit the IP address on my browser. It works! But it doesn’t. I get a 502 bad gateway when I load the domains I set up. I open up the logs, which for some inexplicable reason works now. I find out that the container can’t redirect the traffic because it can’t reach the separate IP address that has all the services that I want. I realise then that I need a bridge network so that nginx can redirect the traffic properly. The feeling in my head remains.
I add a bridge network, removing the configurations I had on the network interface. Okay. I can access the Web UI just fine, and I start setting up the nginx app again. I do what I did before, making sure to mount the volumes and set the network to the bridge on the IP address that I want. 5+ minutes later, the proxy manager is deployed. I access the IP address on the browser. It doesn’t work. I can’t view the logs again - a 500 error like before. I’d like to restart, but I can’t. I’m running an extended hard drive S.M.A.R.T. test. I take futile attempts at crossing my fingers and redeploying - each deployment taking about 5+ minutes to complete. It doesn’t work. The dull gnawing in my head escalates to a sharp throbbing, and I’m wondering what have I done to deserve this.
I don’t know what to do, but I don’t give up. I should learn to step back sometimes. I hear about traefik - another reverse proxy that’s recommended by truecharts. They even have tutorials. So, I follow an installation tutorial. It requires me to update the catalogue on my server. That’s what I do. I start the process, and it’s taking longer than I think it should take. It’s taking really long. I look online, and other people have the same complaints as me - it’s stuck, I had to reboot, I tried three times and it didn’t work. Yikes. So I wait as impatiently as I could, attempting to think of something else while the process was running. It takes more than an hour and it’s done. I install it and the web ui opens. I continue to follow the tutorial to set up the reverse proxy, until I reach a point where I have to edit some settings in the apps that I want to point to. I didn’t have the setting. It wasn’t there. The setting that I needed to use the reverse proxy wasn’t there. My head feels like exploding at this point. My blood vessels want to erupt. My brain has decided it’s done. I’m ready to leave this place. I had a good run. Goodbye.
For traefik to work, I would have to uninstall all of my apps that I got from the TrueNAS catalogue, and install the versions from the TrueCharts catalogue. I wasn’t going to do that. So, I decided to scrap traefik and try using nginx again - other people made it work, why can’t I? I do it as incrementally as I could now, ensuring everything worked as I made the changes. I retraced my steps. Firstly, I added the other static IP (192.168.50.72) for the nginx instance to the network interface NOT in bridge mode. I launch the nginx proxy manager container and visit the static IP that I set for the app and added in the interface earlier. The “Congrats” screen shows up, and I test the reverse proxy if it worked. As expected, it didn’t work because it couldn’t reach the IP of the rest of the services (on 192.168.50.70). Now, I start migrating everything to bridge mode. I remove the .72 static IP from the interface and create the bridge interface. For a while, I had a weird issue where I couldn’t migrate the .70 IP address to the bridge interface. TrueNAS scale doesn’t give any error message or indication why. But eventually I was able to get it to work by stopping all my services and then migrating the IP address. This was very weird because I didn’t have to do this earlier. Anyway, now my .70 address is in a bridge interface. I resume all my services, but nginx proxy manager fails to start - probably because it couldn’t bind to the .72 IP that was previously defined. I go into the settings of the app, and change the interface to the bridge interface and save. Now, I went to check 192.168.50.72, expecting that it wouldn’t show up. But it worked! Wait, what? It worked?
I did not expect this because I didn’t define the IP in the bridge interface, as I expected I was required to do so. My guess is that by defining a static IP address in the bridge interface, truenas hogs it for something - I don’t know what. It then prevents any binding to that IP address. I don’t know why it works differently on the interface itself, which requires you to specify an explicit IP address if you’re expecting to be able to bind to an app to the IP address. I finally created the 5 local domains I wanted, and I was happy. But at what heavy cost.
Wrapping up

If I had to do this again I would probably pay for unraid. It just hurt getting all these errors and unexpected behaviour I can’t explain from TrueNAS Scale. I’m not doubting that some of these errors were truly because of me - but the documentation provided by TrueNAS is, in my opinion, sparse, lacking, and ill-organised. I don’t seem to be the only person who thinks that. Regardless, I got all the things that I want up and running on my server and I am one happy camper.